
Google Sheets is a free spreadsheet app that is part of Google’s web-based suite of tools. It allows users to create and edit spreadsheets directly in their web browser.
Textmagic and Google Sheets can seamlessly integrate via Zapier without additional code. In this article, we’ll go over connecting the two apps in Zapier and creating the following Google Sheets SMS integrations:
- Logging incoming calls and SMS to a Google Sheet
- Sending SMS notifications for new rows and updates in Sheets
- Creating new Textmagic contacts from Google Sheets
- Sending SMS directly with Google Sheets via Textmagic
Textmagic is fully compatible with a number of other apps from the Google Workspace suite. For another example, you can read our previous article on Google Calendar and Textmagic integrations.
Connect Google Sheets and Textmagic via Zapier
To integrate your Google Sheets and Textmagic accounts, start by linking both apps. Sign into your Zapier account or create one if necessary.
Connect Google Sheets to Zapier by selecting Add connection in the Zapier Apps tab. Search for ‘Google Sheets’ and choose it from the dropdown list. Then, follow the steps provided in the Google Sheets authentication flow to finalize the connection.
Next, create a Textmagic account if you don’t already have one. This will allow you to begin creating seamless Google Sheets SMS integrations.
Get started now!
Connect Textmagic to Zapier by heading to the Zapier Apps tab again and clicking on Add connection. Search for ‘Textmagic’ and select the app.
This will open a pop-up window asking you to insert your API key and username. Your API key is located under Services > API in the Textmagic app.
After connecting both Google Sheets and Textmagic to Zapier, you’re ready to start creating integrations. Hit the orange Create button on your Zapier dashboard and start working on your Zaps.
1. Log incoming Textmagic calls to a Google Sheet
Creating a call log in Google Sheets from Textmagic is a practical way to keep a detailed record of your customer interactions. You can analyze call patterns, follow up on leads, or maintain detailed customer service spreadsheets. Here’s how you can do this:
- Select the triggering app & event for your Zap. For App, choose Textmagic SMS; for Event, choose New Incoming Call.
- Continue to the Account section. Your Textmagic account will be displayed here if you’ve already connected it to Zapier.
- Test the triggering event. This step is optional, but we recommend doing it to ensure your automation works as intended.
- Next, configure your action app & event. For App, choose Google Sheets; for Event, select Create Spreadsheet Row.
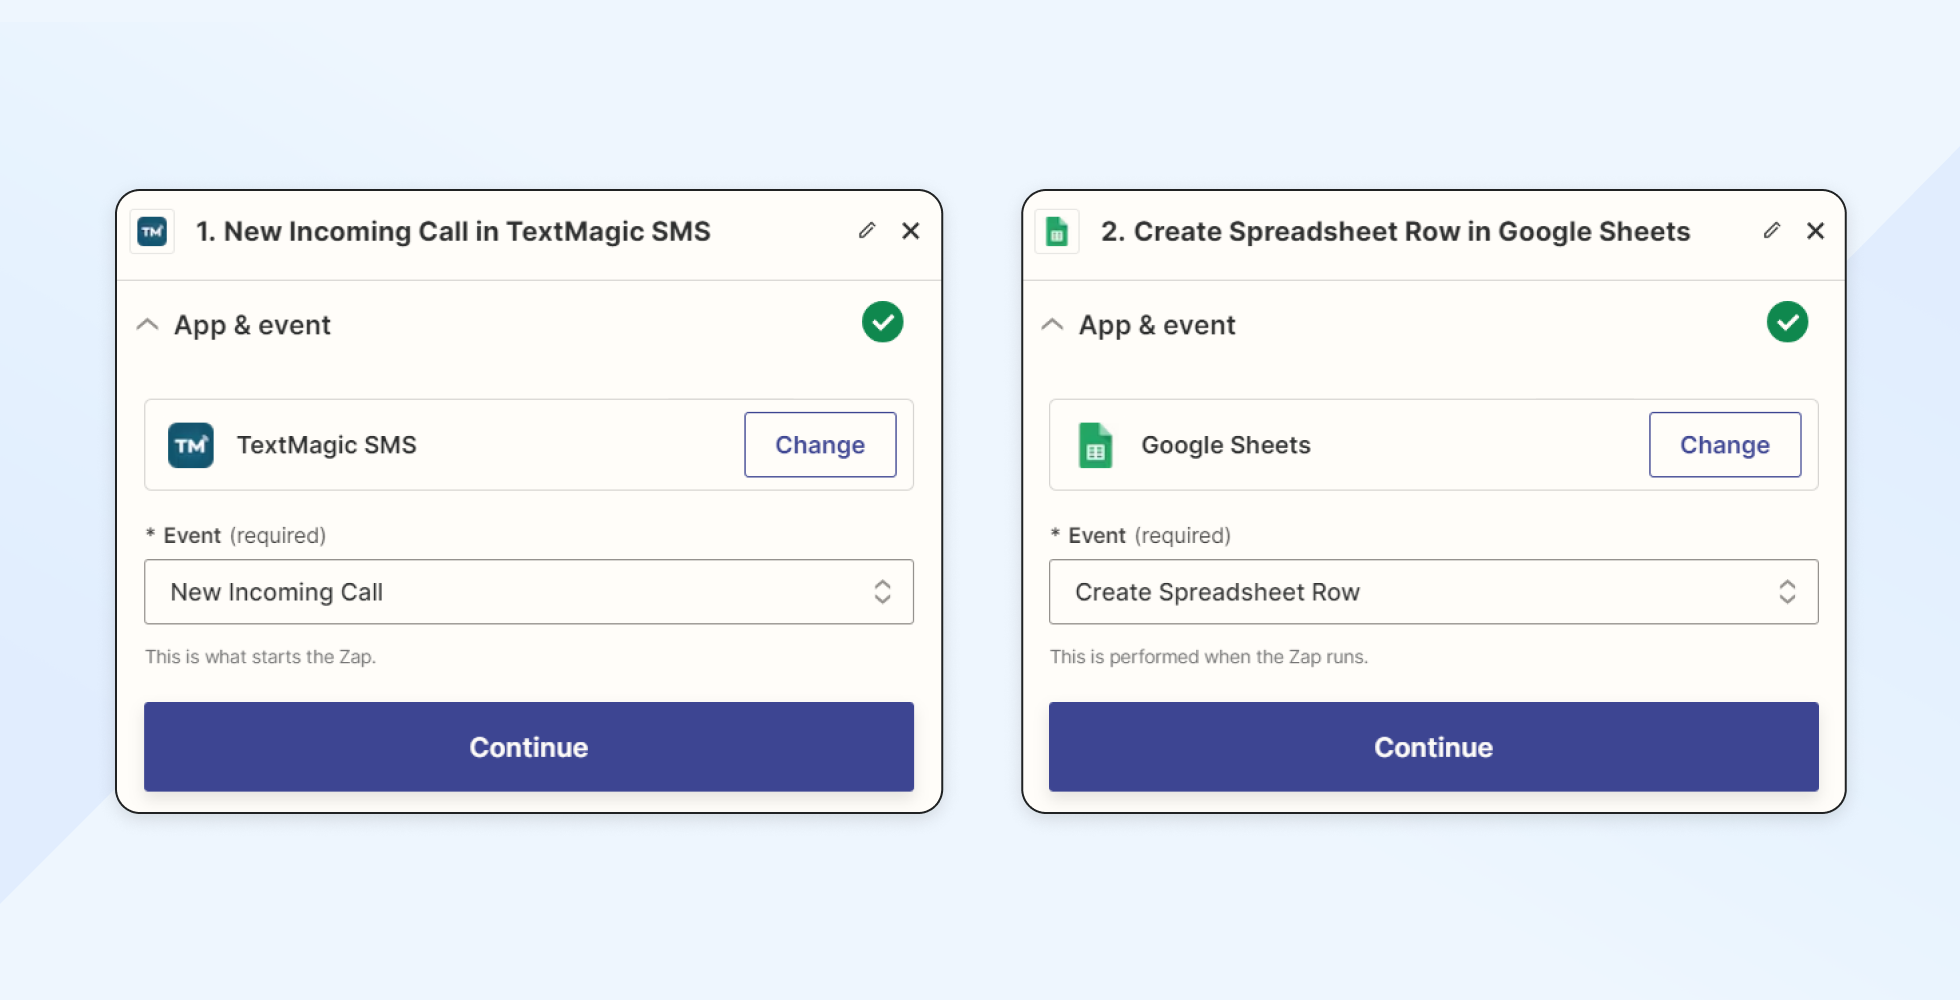
- Connect your Google Sheets account in the Account tab if you haven’t done so already.
- Next, configure your Action. Select the Google Drive, spreadsheet, and worksheet into which you want to log calls. Ensure your Google Sheet has a compatible layout with the Zap. You can read more about proper spreadsheet formatting in Zapier’s guide.
- You can input variables for each field in your spreadsheet, such as caller name, phone number, call time, etc. When you’re satisfied with the level of information, click Continue.
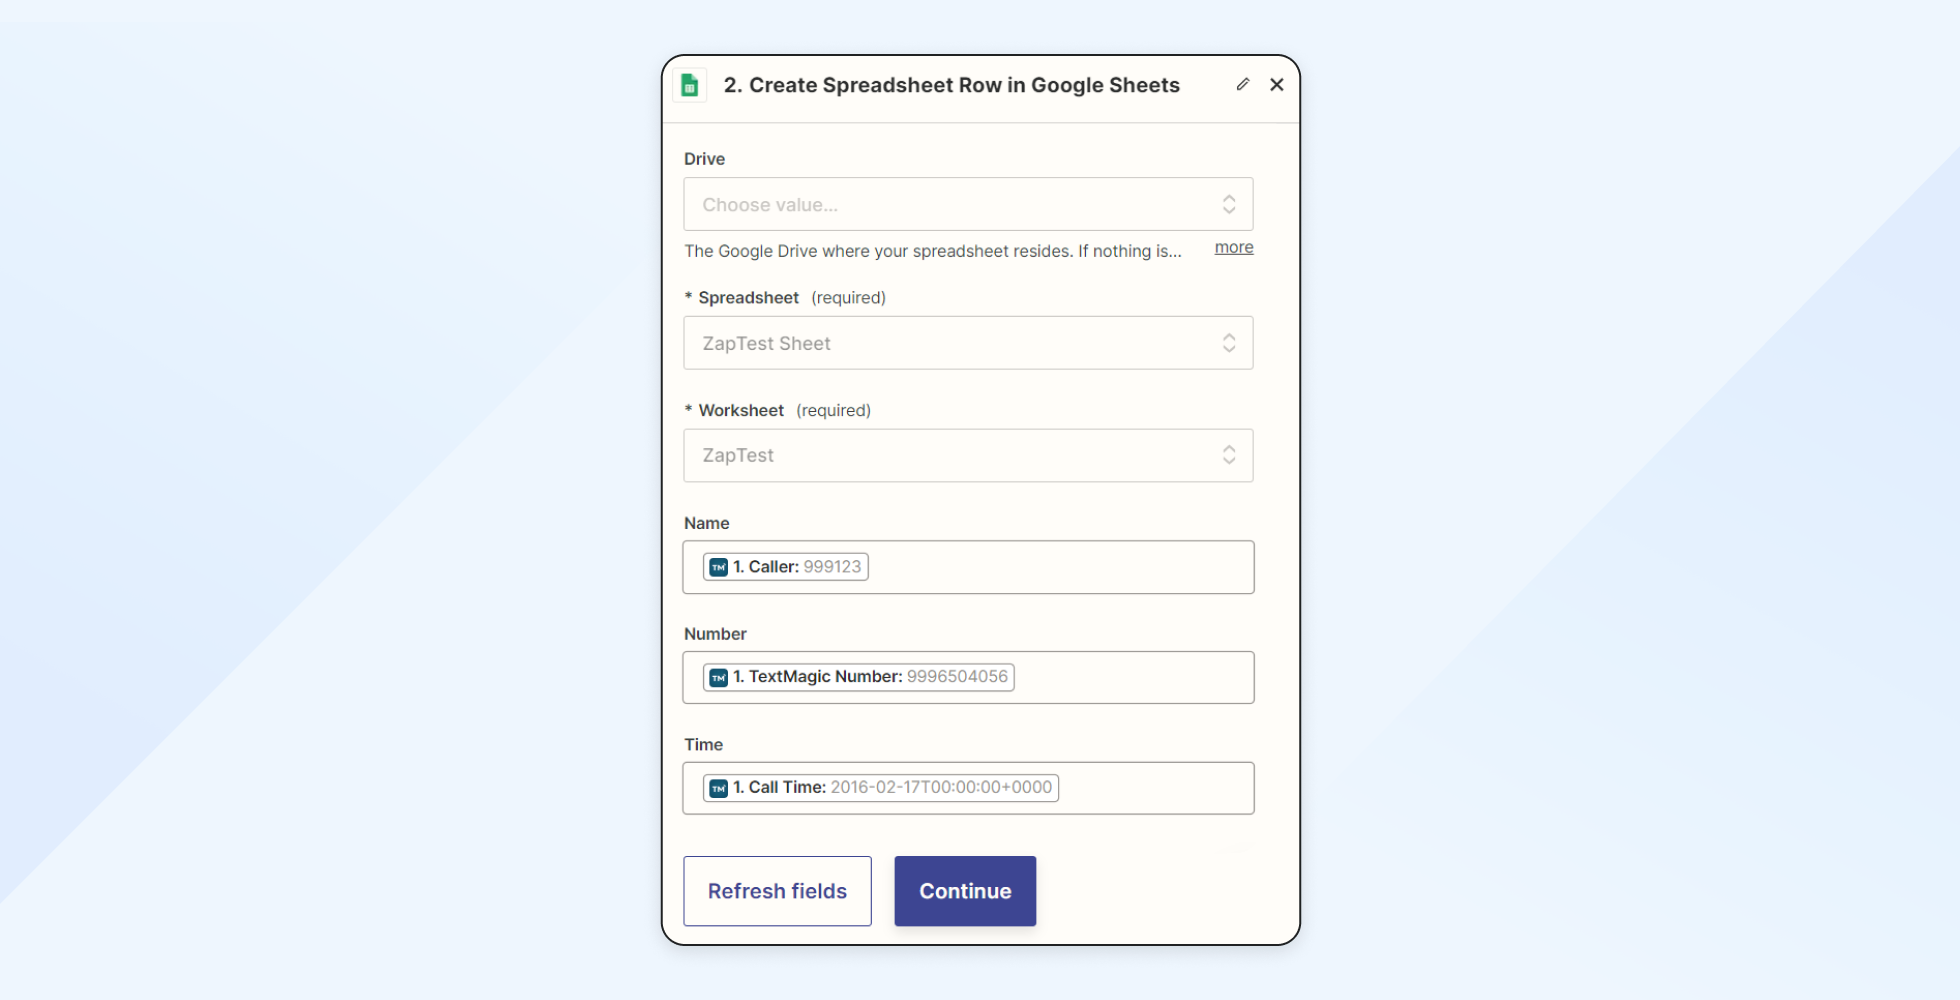
- Test your Zap, then hit the Publish button to activate it.
Optional: Log incoming Textmagic messages to a Google Sheet
You can also create a Google Sheets log of incoming messages using Textmagic and Zapier. The setup process for the integration is very similar to the one for incoming calls, with one difference:
- For the triggering Event, select New Incoming Message this time. The rest of the flow remains the same.
2. Send SMS notifications for new rows in Google Sheets
This integration automatically sends an SMS notification through Textmagic whenever a new row is added to a specified Google Sheet. This is particularly useful for order processing, appointment scheduling, and other scenarios that rely on instant updates.
- Specify the triggering app & event for your Zap. For App, select Google Sheets; for Event, choose New Spreadsheet Row. If you use a shared drive, we recommend choosing the New Spreadsheet Row (Team Drive) for the best experience.
- Configure your trigger by inputting the desired spreadsheet and worksheet for which you want to enable Google Sheets SMS notification.
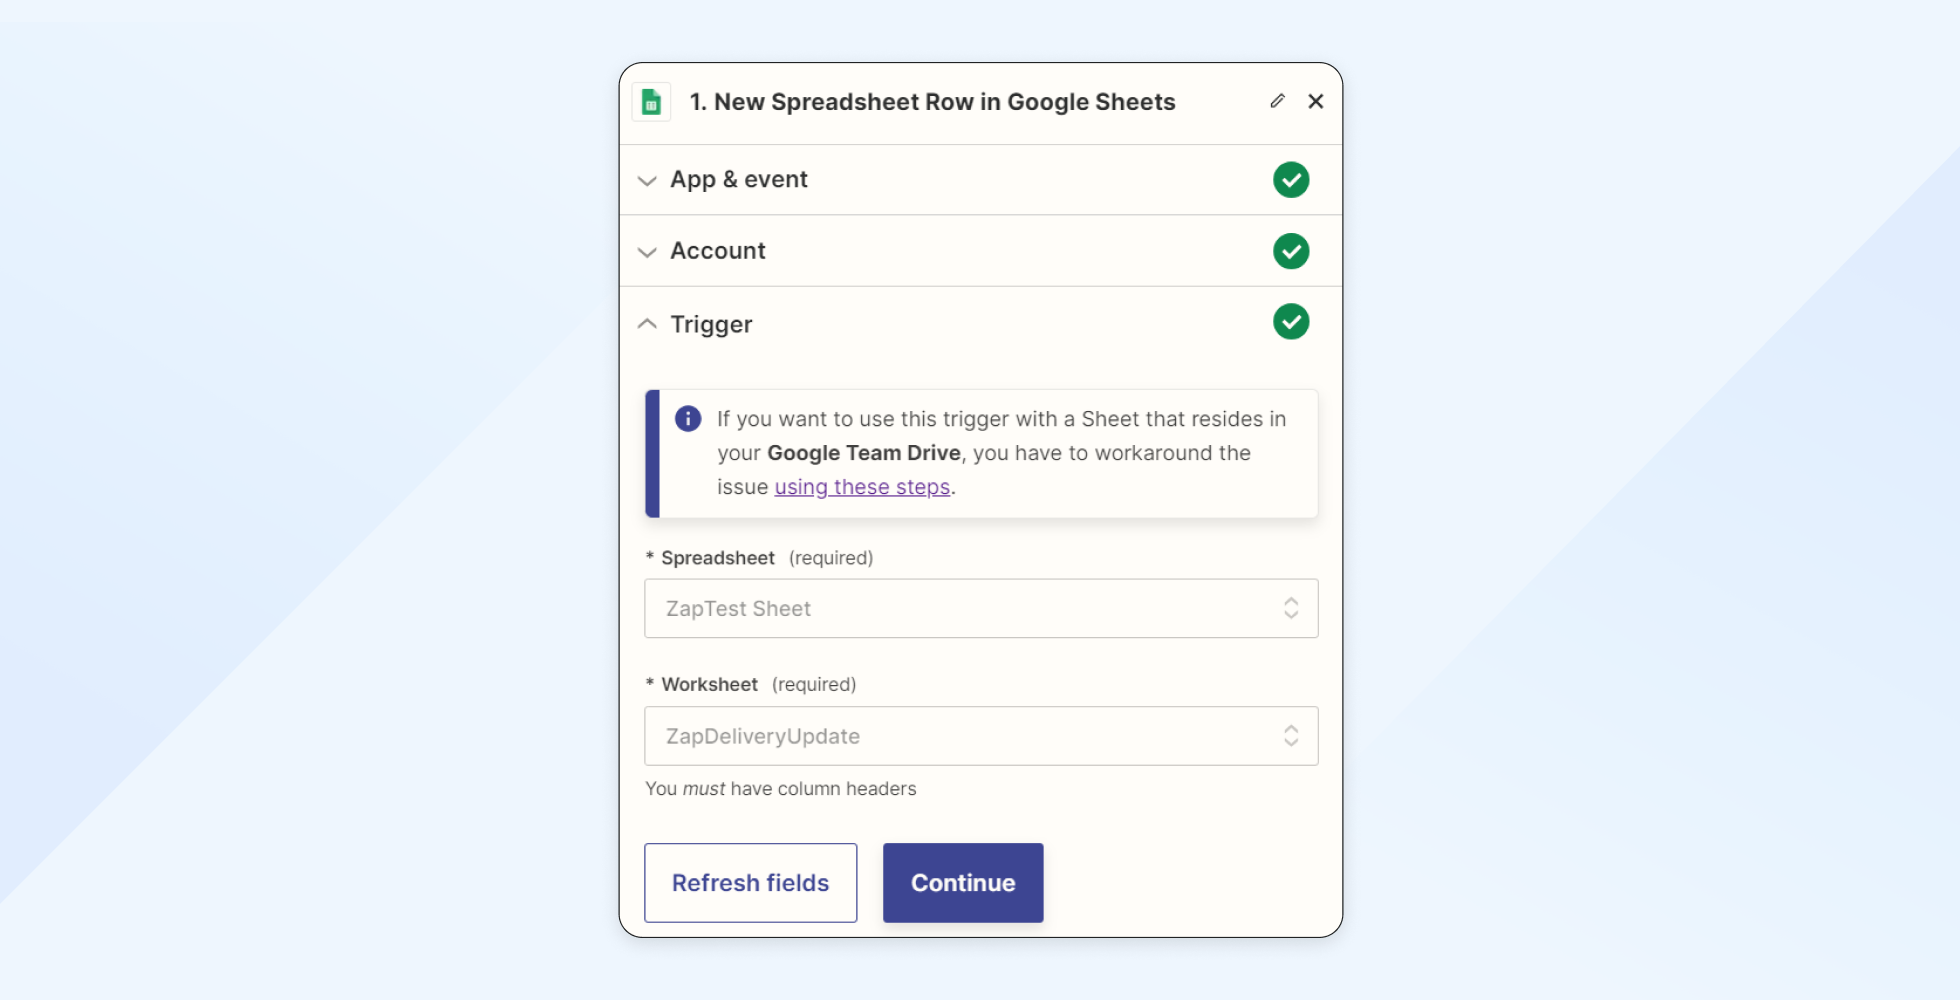
- Select the action app & event next. For App, choose Textmagic SMS; for Event, choose Send Message.
- Configure your action. First, fill in the body of the message. You can use Zapier variables to input custom information about each row update.
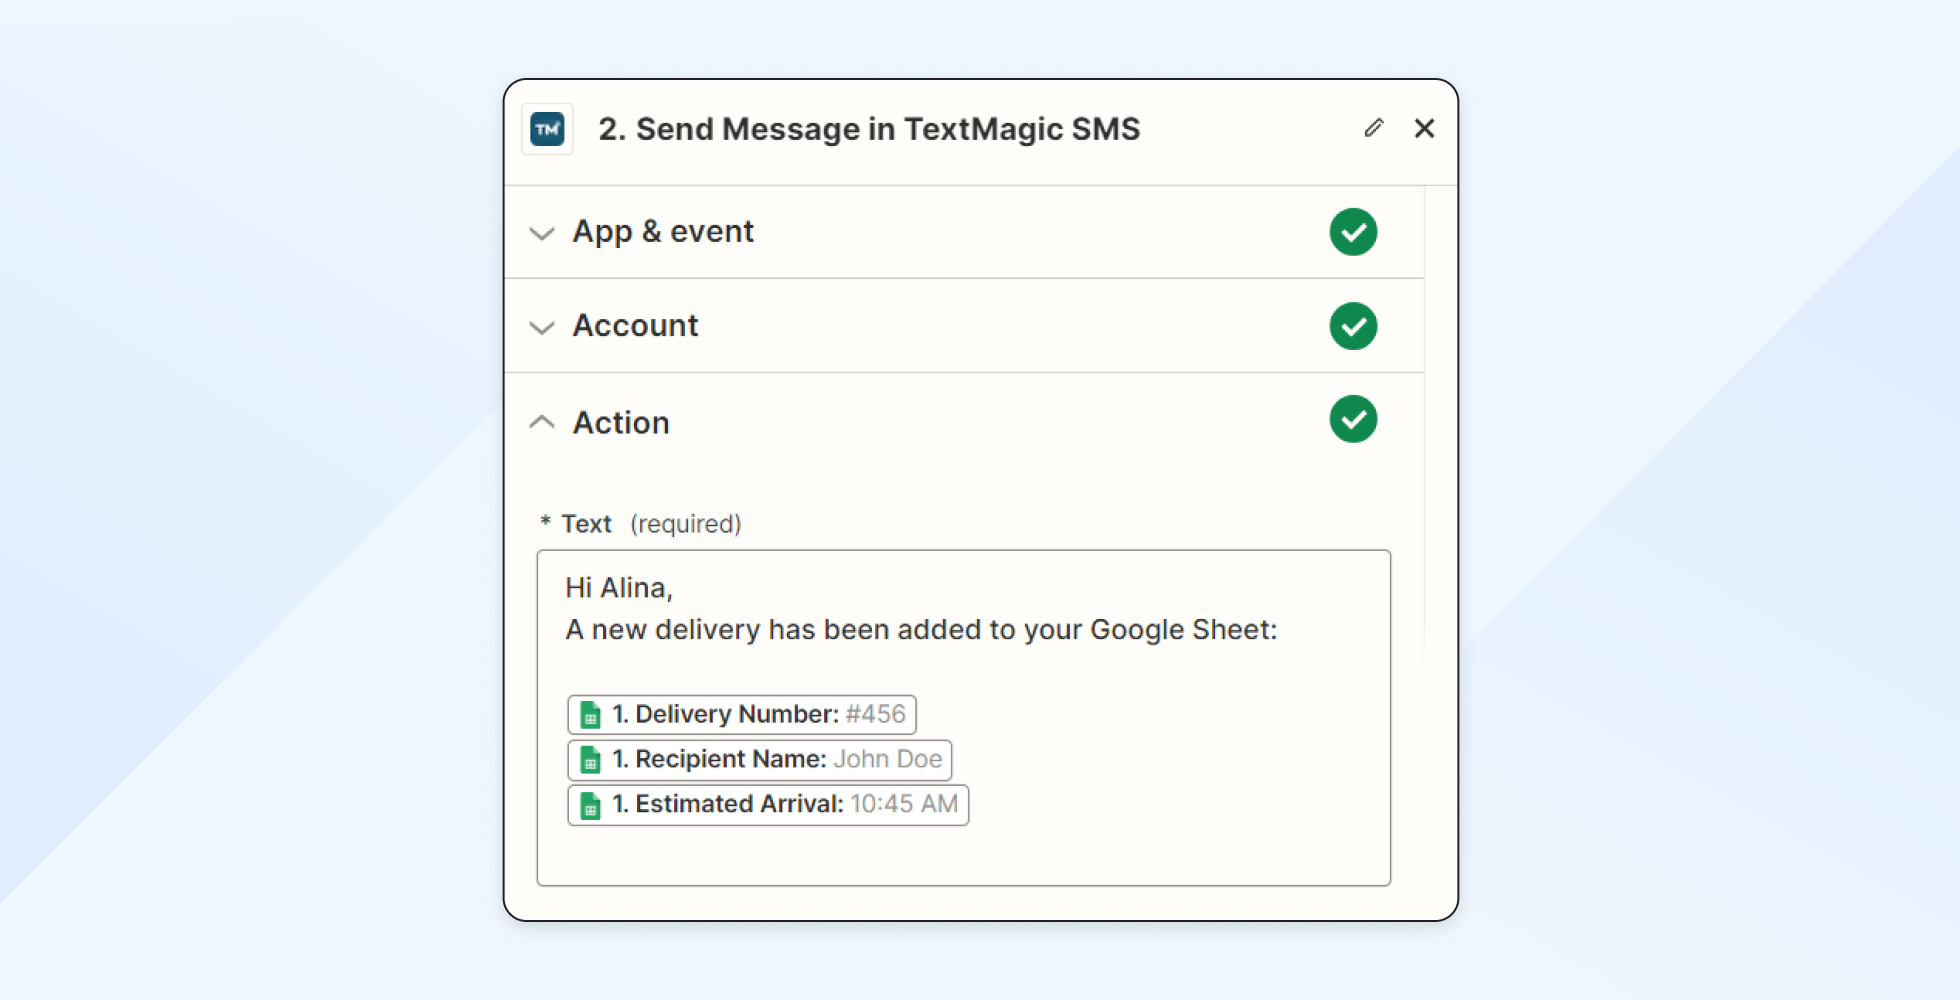
- Next, specify the Google Sheet SMS notification recipient. Here, you can fill in a phone number, a Textmagic contact, or an entire Textmagic list.
- You can also customize the sender with one of your Textmagic numbers.
- Other customization options in this section include choosing a maximum part count for your SMS, adding a reference ID, selecting a format and country for the number, and scheduling the message.
- After you’re satisfied with the flow, click Continue and test your Zap.
- Once you make sure everything is working properly, click Publish to activate the integration.
Optional: Send SMS notifications for both new and updated rows
To stay on top of any updates even more efficiently, Zapier allows you to send a Google Sheets SMS notification with Textmagic every time there is either a new or an updated row. Setting this up works almost the same as the new row notifications, with a couple of minor differences:
- For the triggering Event, select New or Updated Spreadsheet Row. If you use a shared drive, we recommend choosing the New or Updated Spreadsheet Row (Team Drive) for the best experience.
- When configuring your trigger, you can also choose to receive notifications only for new rows or updates made on a specific column.
3. Create new Textmagic contacts from Google Sheets
With this integration, you can automatically create new contacts in the Textmagic app from a Google Sheet. This will allow you to keep communication lists up-to-date without manually entering data.
- Input the triggering app & event for your Zap. For App, choose Google Sheets; for Event, choose New Spreadsheet Row.
- In the Trigger section, choose the spreadsheet and worksheet from which you want to pull the contacts.
- Test the trigger before proceeding to the next step.
- Configure the action app & even. For App, choose Textmagic SMS; for Event, choose New Contact.
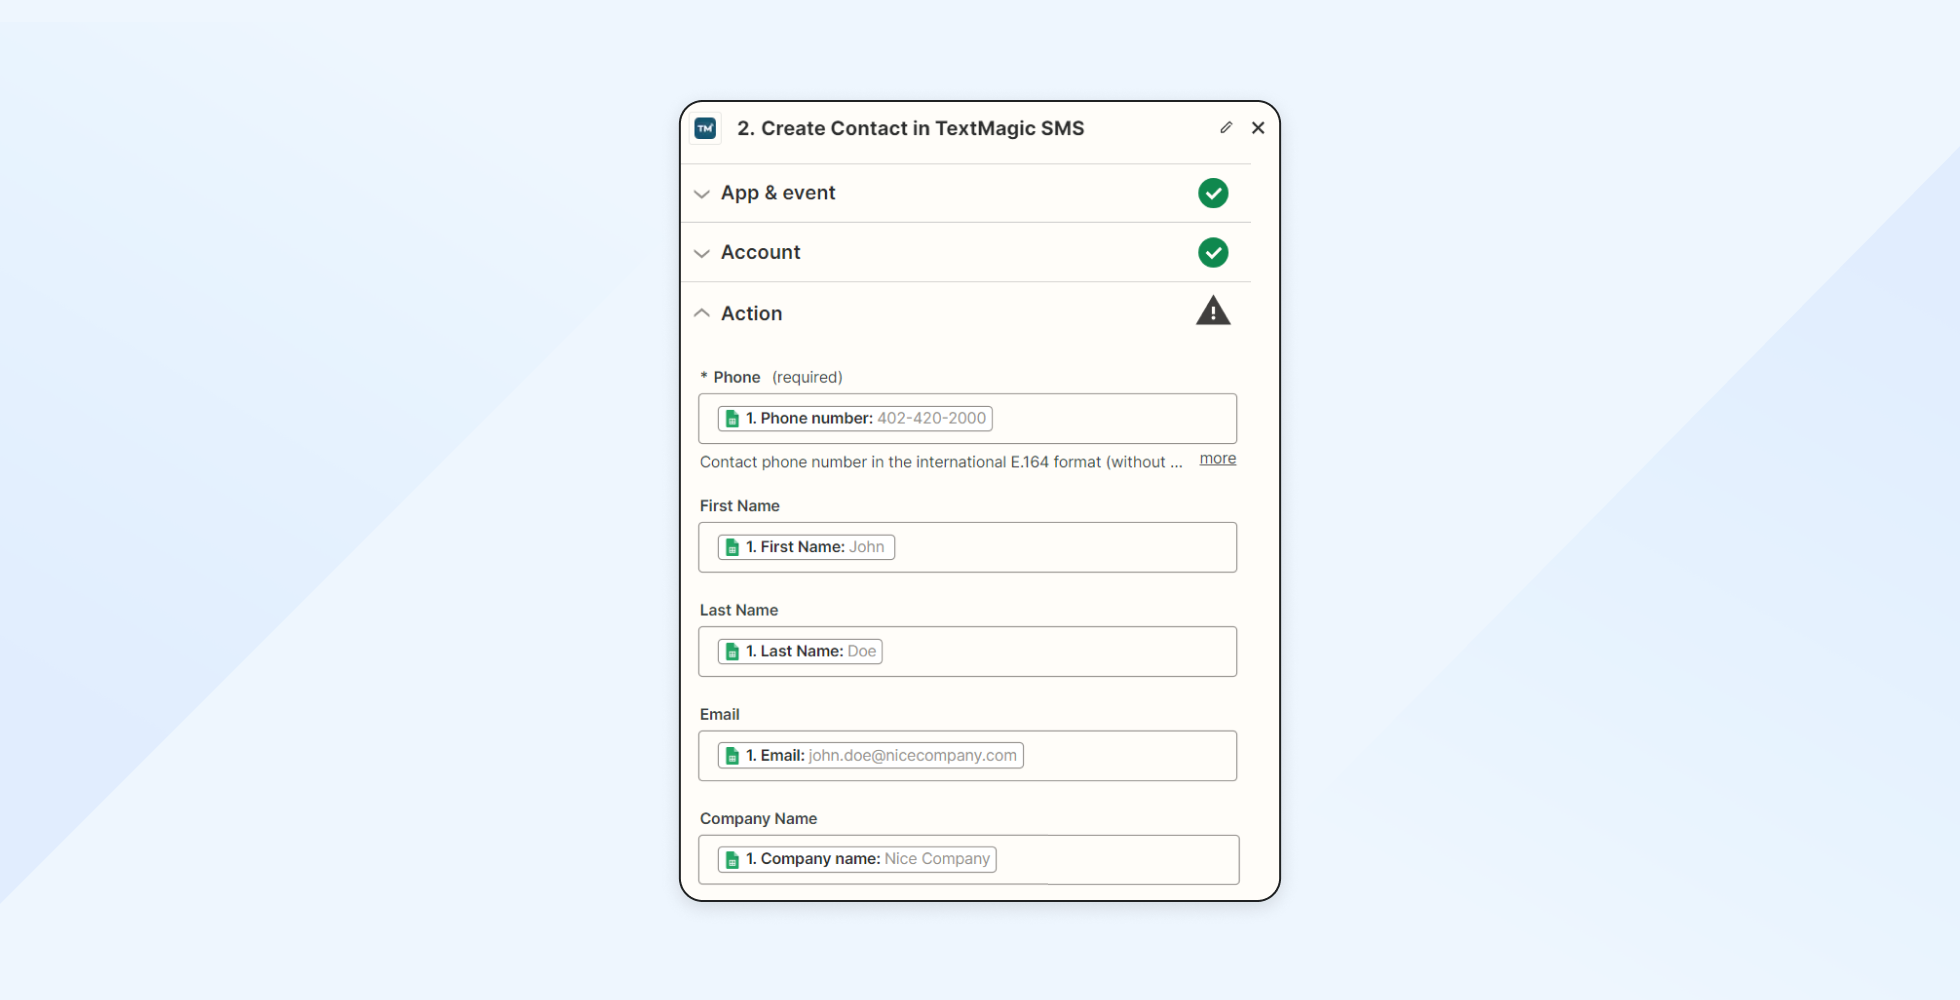
- Next, complete the Action fields. You can use variables for relevant contact details, as illustrated below.
- Select a Textmagic list to send the contact into.
- Optionally, you can also specify the contact’s phone number format and country.
- To avoid errors, select Yes under Edit Existing Contact When Found. This will allow Zapier to update the contact if it already exists in Textmagic.
- Test your Zap and hit Publish to activate it.
4. Send SMS with Google Sheets through Textmagic
Wondering how to send SMS with Google Sheets? This straightforward integration is possible through Textmagic and Zapier.
- Fill in the triggering app & event for your Zap. For App, choose Google Sheets; for Event, choose New Spreadsheet Row.
- Select the spreadsheet and worksheet from which you want to text.
- Specify the action app & event. For App, choose Textmagic SMS; for Event, choose Send Message.
- Next, configure your action by inputting the text you want to send and the recipient. For this step to work properly, make sure your spreadsheet has a column with the text you want to send. Use this variable in the Text field to enable dynamic content.
- For your recipient, you can input a variable based on the same spreadsheet to send a message to a different recipient for each new row.
- To send bulk SMS from Google Sheets, you can choose a Textmagic list instead.
- Fill in the other fields as needed, then test your Zap.
- Click Publish to activate the integration.
Conclusion
Integrating Google Sheets with Textmagic via Zapier offers a powerful automation solution to streamline communication workflows. But that’s just the beginning—Zapier supports thousands of apps. If you’re working with mobile or web apps, using a Firebase connector can help you automatically sync real-time data into Google Sheets or your CRM, triggering timely, personalized SMS updates through Textmagic.
Businesses of all sizes can leverage the power of these easy Zaps to track customer interactions and optimize operational efficiency – allowing you to save valuable time by eliminating manual data entry and improving the accuracy of your communications.
Frequently Asked Questions (FAQs)
Yes, Google offers a texting app called Google Messages. It’s the default SMS and RCS (Rich Communication Services) app on most Android devices.
No, Google Chat is not designed to send SMS messages. It is part of Google Workspace and is intended for team collaboration and messaging within organizations.
Yes. You can use Textmagic to send messages in bulk, automate SMS campaigns, link with Google Sheets through Zapier, and manage two-way conversations — all in your browser.
Yes, you can trigger SMS alerts based on data changes in Google Sheets by using automation tools like Zapier.
When you set up a Zap between Google Sheets and TextMagic, it can monitor your spreadsheet for changes, such as new rows added or updated cells, and automatically send SMS alerts accordingly.
Related articles
How we created our product video: 10 Best practices to try
Discover the steps we took for crafting our first-ev...
How to create engaging FAQ pages (with examples & templates)
Forget about boring FAQ pages. The tips and template...
A guide to product adoption: How to measure, quantify, and improve it
Measuring and improving the product adoption rate (P...
Boost your SaaS revenue: Top 6 Pricing models & DIY templates
How much you charge for your service impacts how peo...
Maximizing SMS marketing impact with Unified Communications as a Service (UCaaS)
SMS messaging has long been a top marketing strategy...

