Learn how businesses like yours use Textmagic
Here is how the Textmagic business texting platform is helping businesses daily to grow their revenue and improve their productivity.


Local dedicated numbers available in 24 countries
Australia
/month
Italy
/month
Austria
/month
Lithuania
/month
Belgium
/month
Netherlands
/month
Canada
/month
Norway
/month
Chile
/month
Puerto Rico
/month
Denmark
/month
Slovakia
/month
Estonia
/month
South Korea
/month
Finland
/month
Spain
/month
Germany
/month
Sweden
/month
Hong Kong
/month
Switzerland
/month
Ireland
/month
United Kingdom
/month
Israel
/month
United States
/month
Frequently asked questions
Haven’t found what you were looking for? Contact us now
Automated SMS rules are easy to set-up, and they will save you considerable time. Here’s our step-by-step process for creating message automation rules:
Step #1 - Access the Automated SMS Tab Go to the Services -> Automation Rules tab. To use incoming SMS automation rules, you must have at least one Textmagic virtual SMS number. It is needed to ensure reliable two-way SMS.
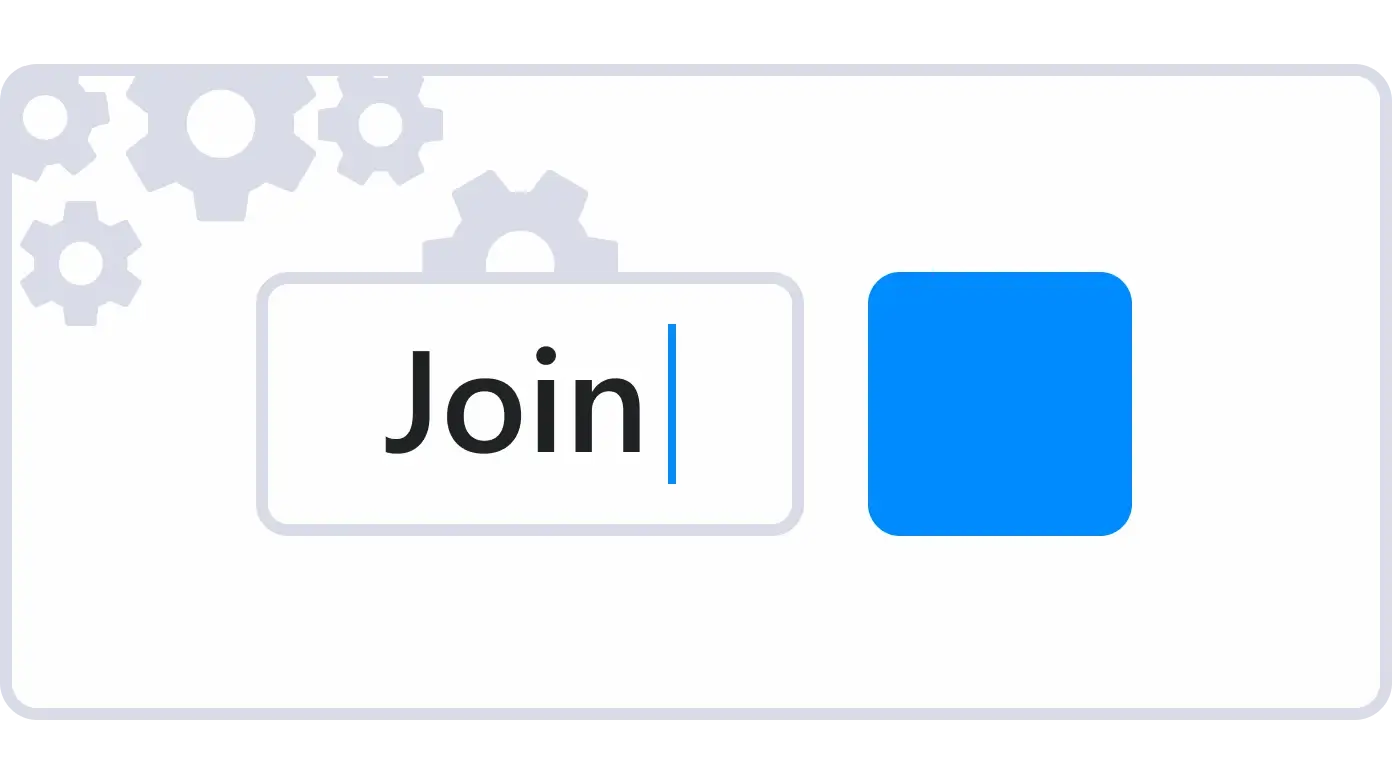
Step #2 - Set up Your Keywords Keywords are special words that you receive from your customers via text messages and can be used to trigger SMS automation rules. Before you set up your message automation rules, you have to create your keywords. You can use common phrases such as ‘subscribe’ or ‘opt-in’ (for subscriptions), ‘stop’, ‘end’ or ‘stopall’ (for opting out), ‘discount’, ‘offers’ or ‘coupons’ (for special deals), ‘help’, ‘more info’, ‘features’ and many more keywords to create automation tools for your business needs.
Step #3 - Creating Message Automation Rules Now that your keywords are ready, you can start working on your message automation rules.
- Go back to the Rules tab and click on Create New Rule.
- Select the account for which the rules will be saved, name your rule and select the number(s) that will be affected by your rule.
- Choose one of the keywords that you have already configured to act as triggers for your rule.
- You can select which countries your rule will target. An empty space means that the rule will work with all countries. Click on Continue.
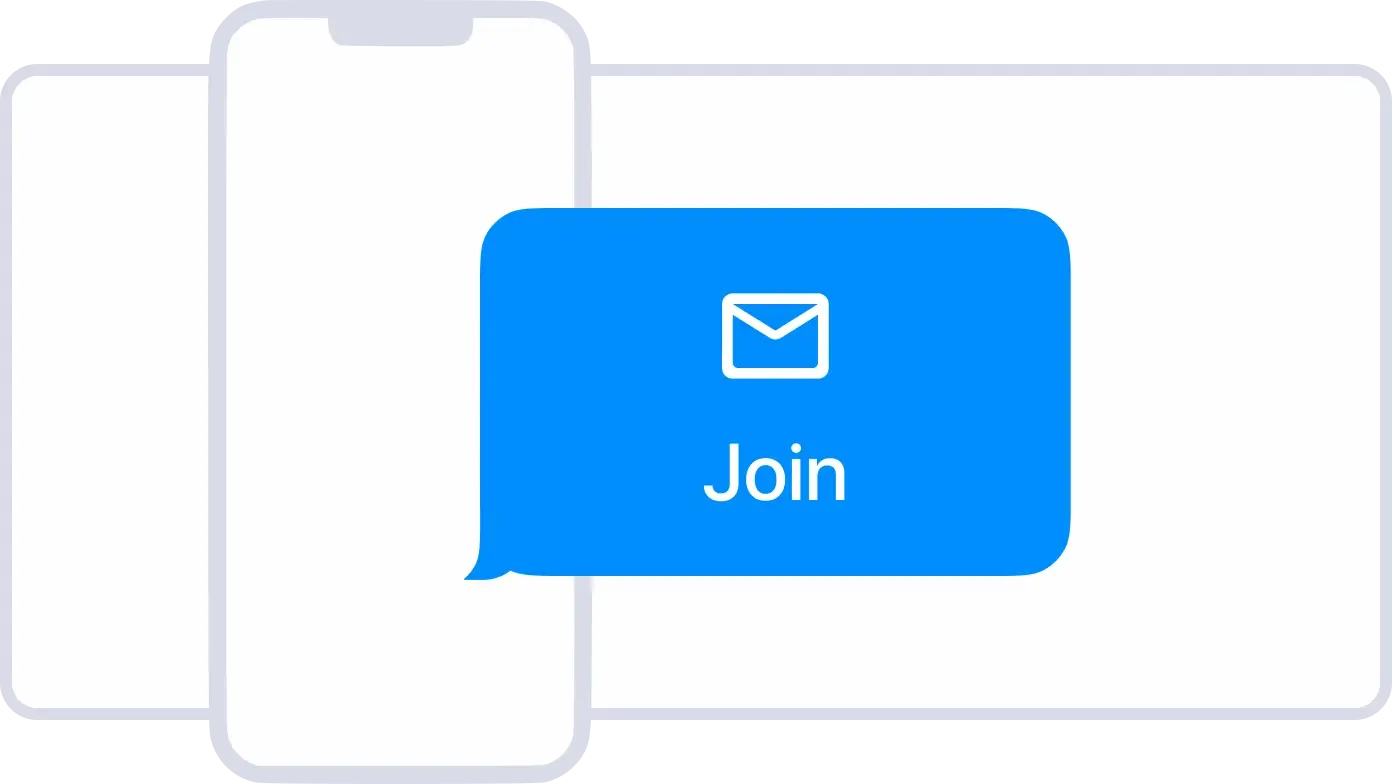
- Now you have to choose the type of auto-response type: text message, text-to-speech, audio broadcast or no automatic reply. Select ‘text message’ for now, and create your SMS.
- You can use SMS templates and SMS tags for extra customisation. You can also attach files in your automated SMS.
- Message automation rules can be set to send only once per unique sender by ticking the ‘trigger rule only once to new and unique numbers’ box.
- Contact management actions. You can also create automatic actions for adding or removing contacts from your list when an automated SMS is triggered.
- View the details of your new automated SMS before saving. You can go back a few steps to make adjustments, if needed.
Voila! Your first automated SMS is ready.